Making Marigold Dye
It begins with a new favorite, marigolds. I planted them around the roses in an attempt to protect the roses from pests, but fell in love with their variations and decadent color. They grew in such abundance I felt compelled to use them, to capture their bloom.
There are many ways to dye with marigolds; this is how we do it.
Dye prep:
Step 1:
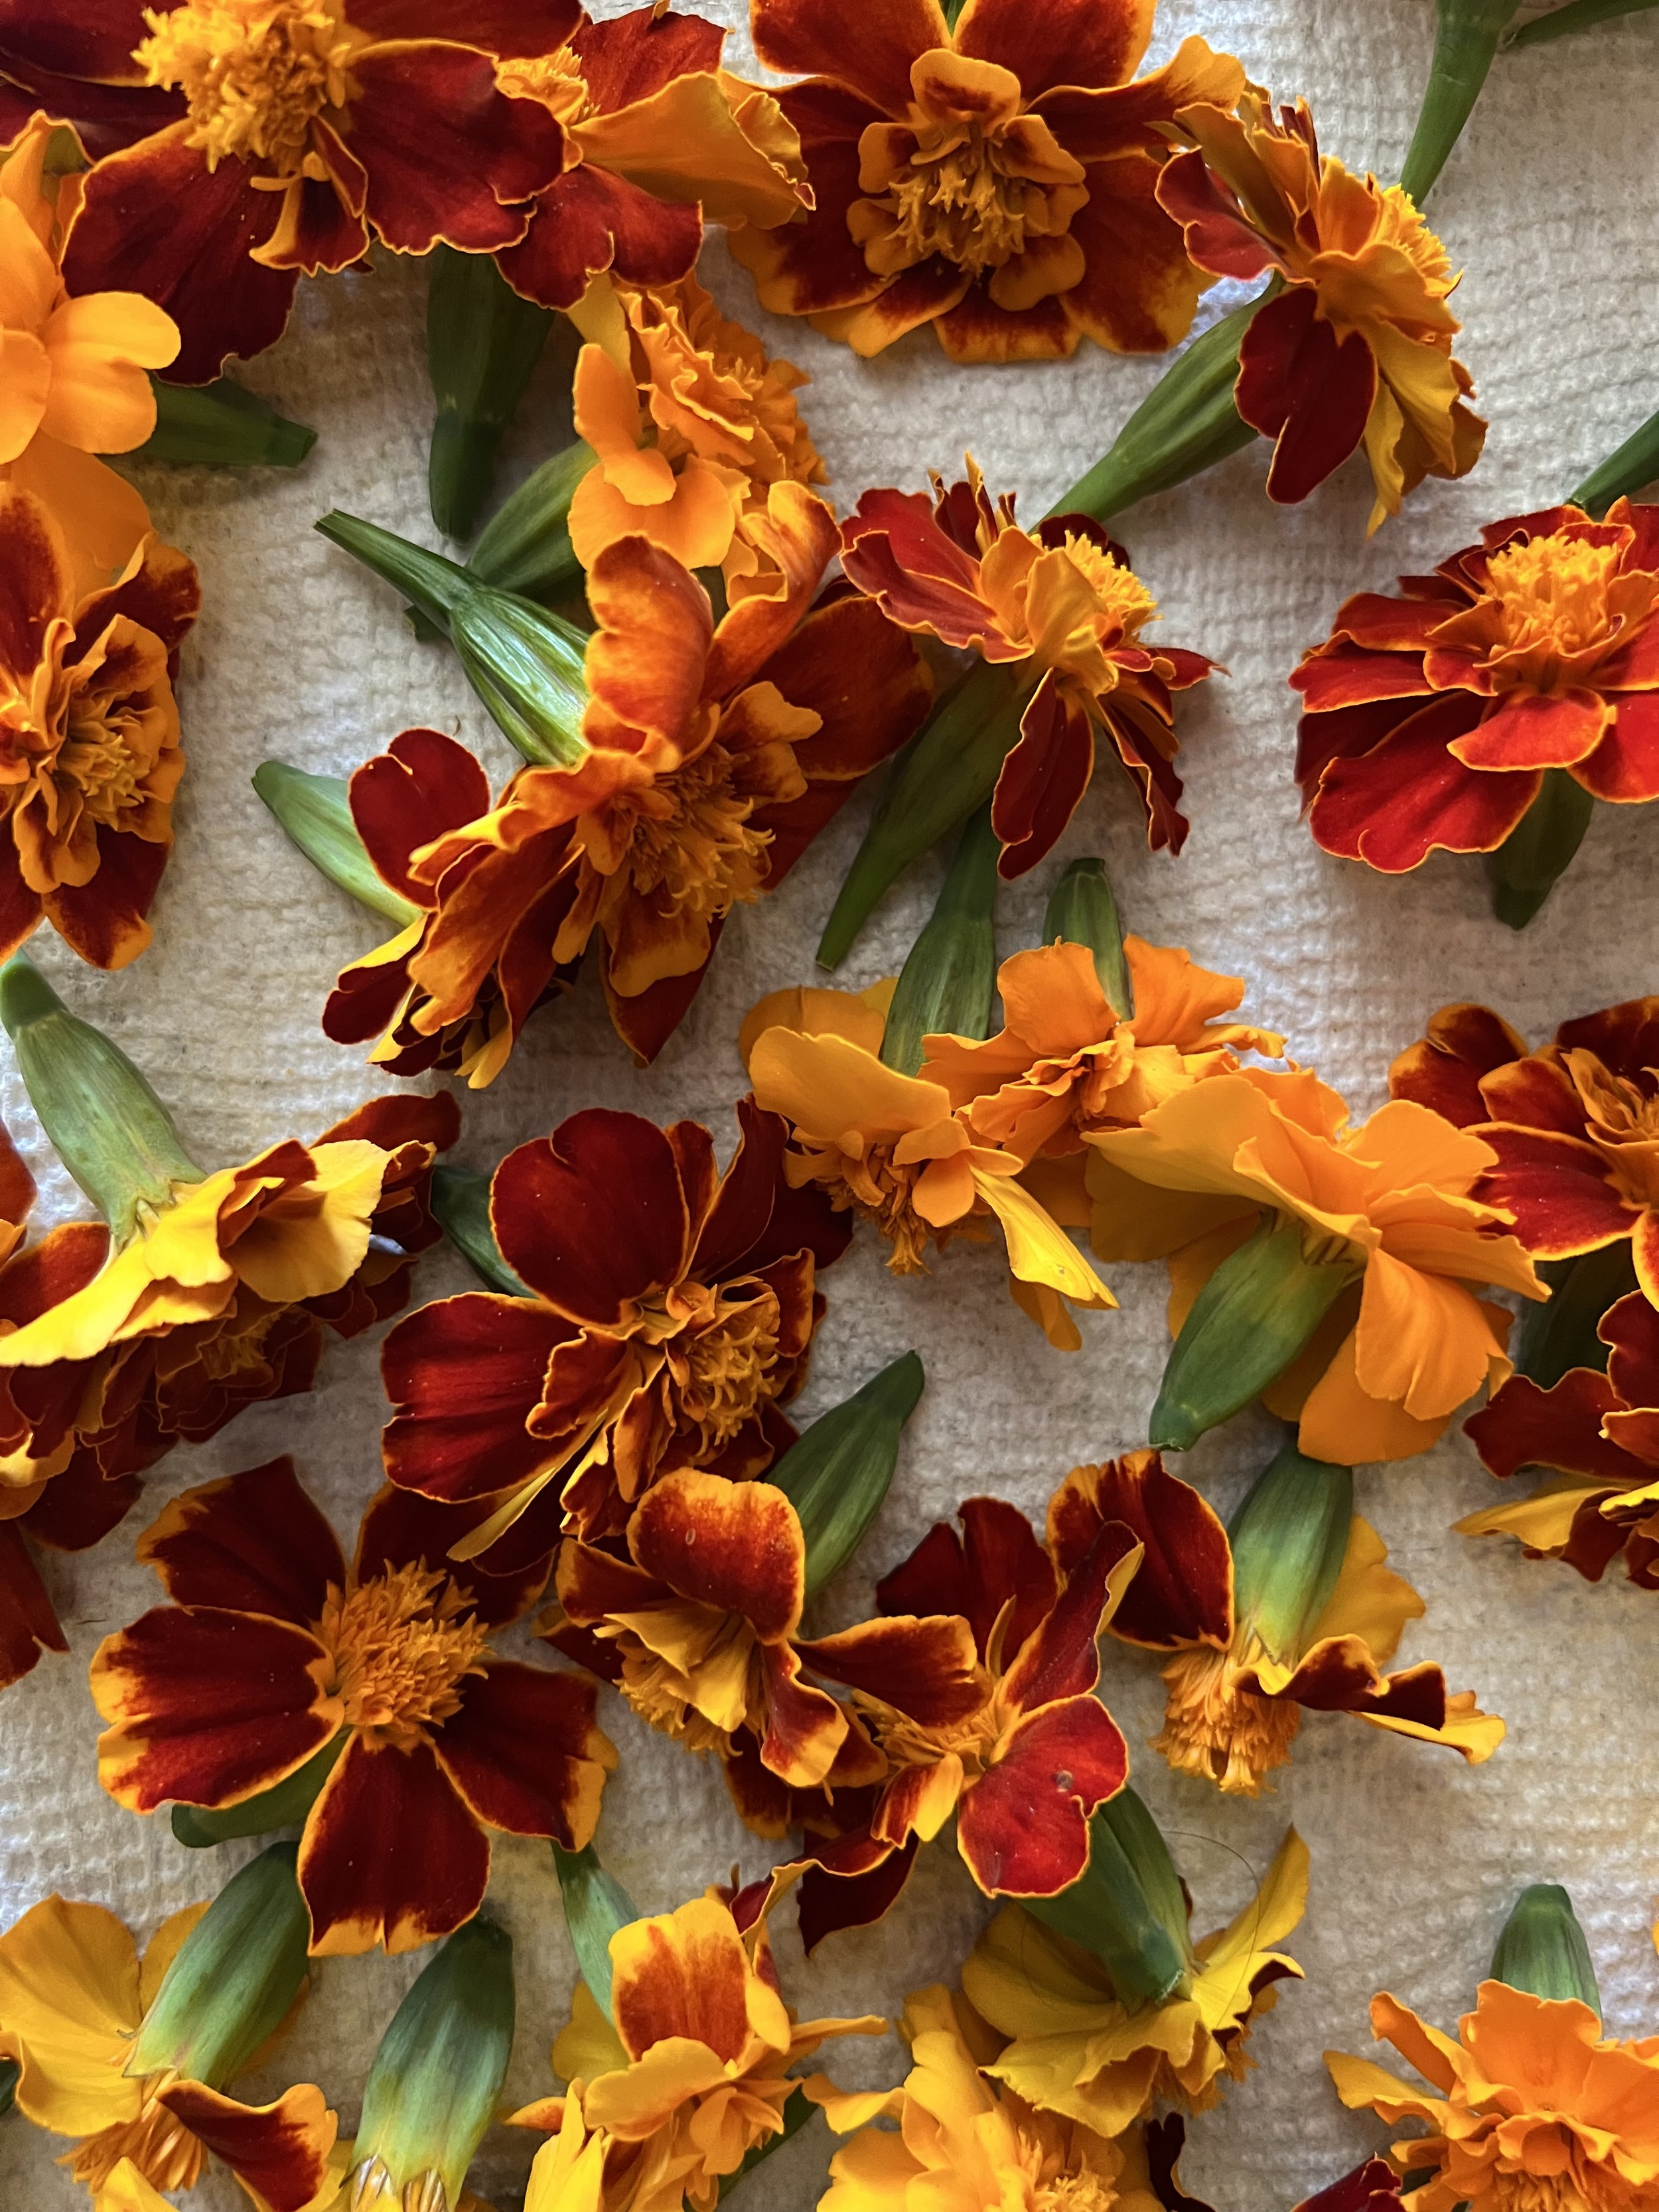
Harvest the blooms! Using any kind of snips or scissors, cut the bloom heads off the plant.
Leave at least 1/4 of the blooms, especially if you’re harvesting at the end of the season to self-seed for next year.
Step 2: Only do this step if there is a gap of 1 day or more between Step 1 and Step 3.
Lay the blooms out in a single layer on a dry towel, or rack. They can rest here as long as you like. Fully dried marigolds can be stored in jars or other containers.
Fabric prep
Step 1:
Choose the fabric, this method works best on natural fibers, and is most vibrant in silk. Rayon will dye in muted, soft tones.
Step 2:
Scour the fabric. We found washing the fabric in the laundry with scouring detergent was the just as effective as hand washing, but speedier :)
Step 3:
Weigh the dried scoured fabric and calculate how much mordant to use. We use aluminum sulfate for mordant.
for silk, we use about 20% of the weight of the fabric
for cotton we use 15% of the weight of the fabric
Mordant is the special sauce that enables the fabric to retain the dye color, but it can also weaken the fibers. There is a balance between vivid color payout and fiber strength/ integrity.


